Saturday, March 26, 2011

March 19, 2011- And in the End...

For our last class, Family Studio began with circle drawings, or mandalas.  Kathryn and I explained to parents that this could be used as a centering or calming activity.  Some of the adults shared stories of families and teachers who have used this activity as such, in their homes and classrooms.

After this opening activity, the families moved on to make mosaics.  Each child and parent could choose between a wide assortment of colored glass river rocks and other items.  

Then they placed these items on a clear plate in a pattern or design that they liked and adhered each piece on with a strong non-toxic glue.

 
The glue takes a while to dry but when it does, it dries clear.  The mosaics can then be hung in a window or somewhere where sunlight can shine through. 


Families were also able to take home their glazed and re-fired clay sculptures.  They all came out so beautifully!  If you need a reminder of what they looked like glazed, but unfired, you can see them on my last blog.  It was a great last class!


In our final Saturday Studio class, students were asked to pick some of their favorite pieces of artwork from their portfolios and write about them.  They could give the piece a title, write an artist's statement, or write what they want others to notice about the piece.  Then, they hung each work with its writing up on the wall.


After going through their portfolio of work, students were then able to pick their final project.  Seeing all their previous work helped them decide what activity they wanted to do with the time they had left.


The classroom became a hodgepodge of creative activity.  Some students decided that they wanted to do some color mixing and paint. 

Other students decided to make weavings with yarn.


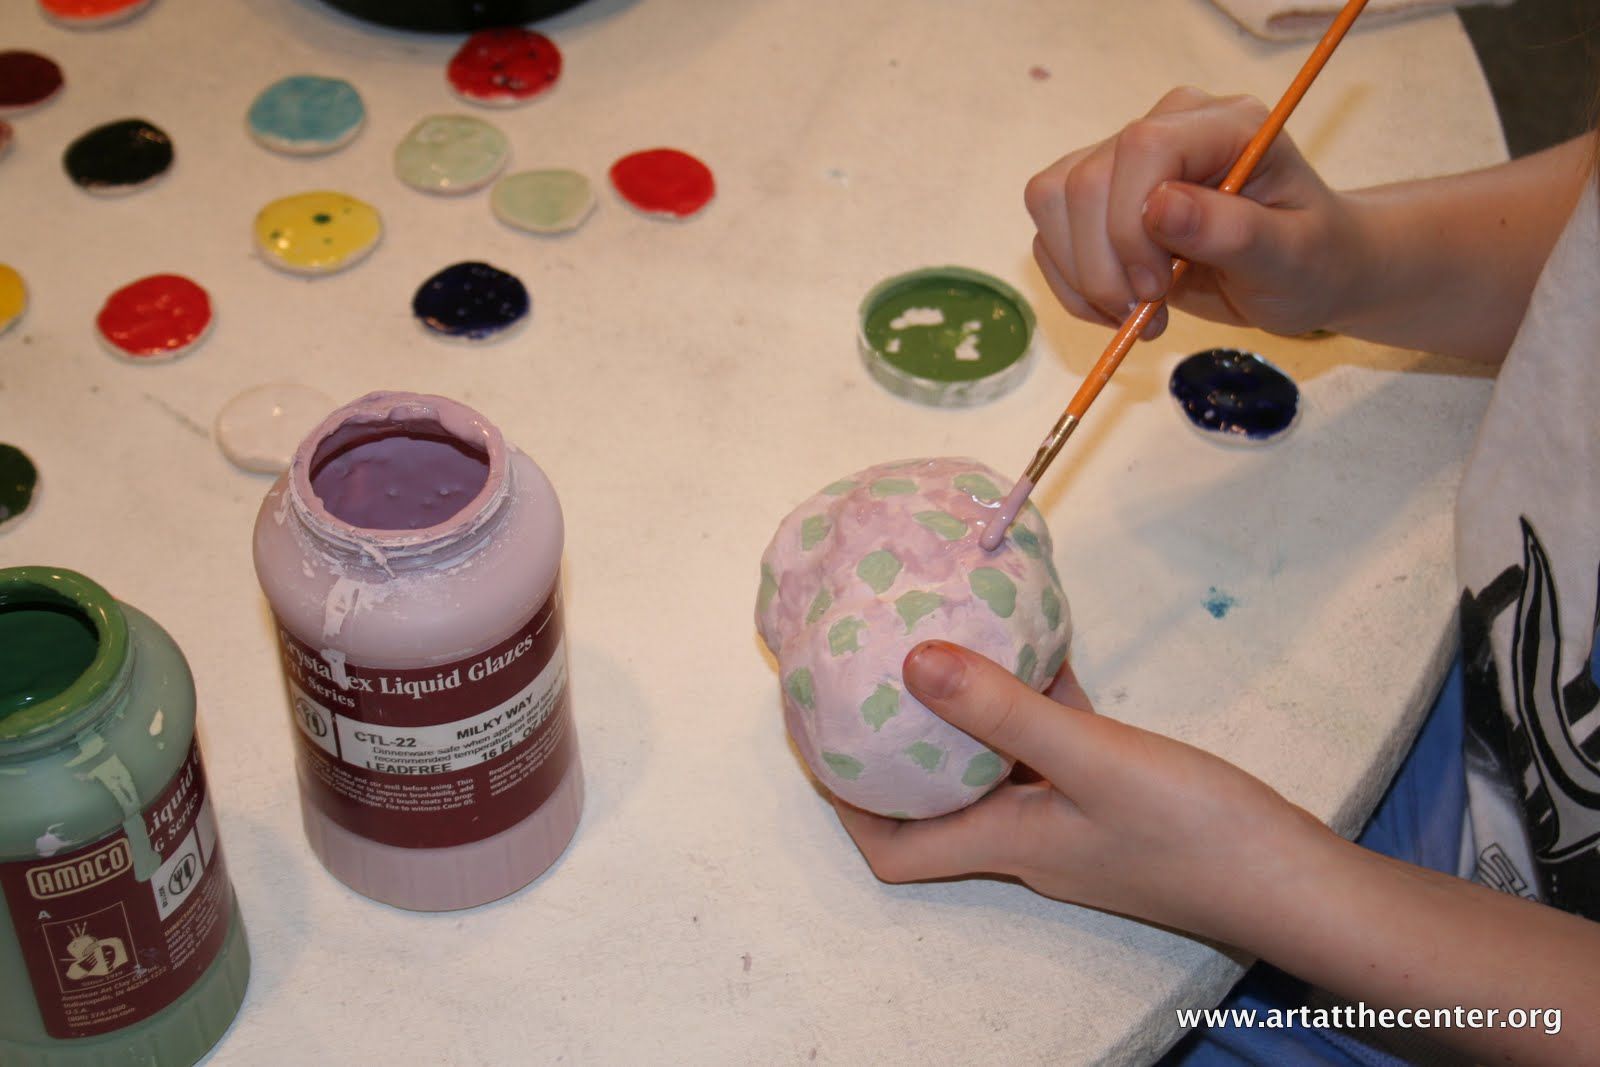
And others, wanted to finish glazing some of their fired clay work.  These students will get to come back and pick up their final pieces in a week or two.

One thing that I will never forget about this group of students is how supportive and encouraging they were to each other, always respecting each others' creative process and individuality.


At the end of class, we took a few minutes to share about the artwork that students chose to hang on the wall and the new artwork they created during this last class.  It was a great closing to all these weeks of creativity.


Wednesday, March 16, 2011

March 12, 2011- Glaze Day!


Today was glazing day for both our Family Studio and our Saturday Studio classes.  Students were able to glaze their clay pieces that they created on February 26th.  You can see photos of some of their unfired sculptures on my blog. Several different colored glazes were set out for the children and parents in our Family Studio class to use. 


Since the color and finish of the glaze looks so different after it is fired.  Each sample was poured into a small bowl that had already been fired and glazed with its corresponding color.  This was to help the kids and parents visualize what their finished product would look like.  Everyone was reminded to put on at least two coats of glaze.


This young artist enjoys putting on several coats of the same color.

This young man delicately paints with several different colors of glaze.
It was great to see families work together.  This father even allows his young son to add glaze to his very intricate sculpture. 
 After a while, most of the kids moved on to other projects.  Two of the dad's, however, were really engrossed in the glazing process.  They took more time to finish their projects.


Our Saturday Studio class spent a lot of time glazing their projects as well.  Because the students in this class are a little bit older and their clay sculptures varied depending on the individual, each student was able to pick out the specific colors of glaze that they wanted to use.  
This student concentrates on painting the penguin that she sculpted. 
 
Another student glazes her apple rattle, red, for her teacher.


A student paints a cat face onto the cat bowl she sculpted.

 
This artist paints her rattle.  While painting, she accidentally made a "mistake," putting glaze where she wanted to keep it clean.  She shows innovation by turning this "mistake" into a purposeful pattern on her sculpture.          


Next week, our last class, we will get to see the finished product, glazed and fired.  These artists will be able to take their finished pieces home.                


Friday, March 11, 2011

March 5, 2011- The Great Exchange

In both of our Saturday classes this week, everyone seemed to be eager to share and exchange ideas with one another.

This was an exciting Family Studio class- we experimented with stamping, using all sorts of interesting items like, wine corks, wooden blocks, natural sponges, and more and dipped them in paint and then let loose on the paper.  The kids and their parents really had fun with this project.  So did I, for that matter.  

One young boy found that the object he was using as a stamp made a shape that looked a lot like a wheel.  His father helped him out by drawing the outline of a car on his paper.  The son then stamped wheels all around the car. 

The son really seemed to enjoy this, so then dad drew the outline of a boxcar train on a new piece of paper and his son added wheels to this drawing as well.  I really enjoyed watching the creative exchange of ideas between father and son.
However, I think the best part was when the son then excitedly covered over the entire image stamping with an object in each hand.  This burst of energy was great to observe and dad was so supportive in letting his son experiment! 


There was some great collaboration going on in our Saturday Studio class as well.  Everyone in the class was quick to share encouraging ideas with one another.  They really did a great job helping each other out.  One young lady wanted to sculpt a sand dollar but she could not remember what they looked like.  One of her classmates was quick to help out.  She, very willingly, made a sketch of a sand dollar for her to look at while she formed the clay.  


The young lady was very appreciative and her sand dollar sculpture was a great success. 


Thursday, March 3, 2011

February 26, 2011- Clay and Paper-making

The Family Studio class will often play with clay at the end of class.  Because the children in this class are so young, we will usually reshape the clay back into balls when it is time to clean up.  During this class, however, each family member was able to create a clay sculpture that will be fired and that they will then be able to glaze.  The students started out with a thin and flat circle of clay.  Then they were able to build up from that surface with smaller pieces of clay that they could form into shapes or leave as they were.  Everyone was taught how to score the clay and use slip to help make the pieces withstand the firing process and still stick together.  This was a great project for parents to work on with their children.  Everyone seemed to really enjoy the experience.

There was one parent in particular who really enjoyed working with the clay.  In previous classes he was more comfortable observing and helping his children with their art-making.  But today he was ready to get his hands dirty.  He made a beautiful and detailed miniature town out of the smaller pieces of clay and attached them to the flat circular slab. 


Here are some of the kids' clay sculptures.  I cannot wait to see what they look like after they are fired and glazed.  Stay tuned!


Several new students have joined our Saturday Studio class.  Our once small class is now bustling with new energy.  There were several different art-making experiences going on this particular Saturday.  We started out by making mandalas, then students were able to create mixed media collages, learn how to do paper-making, and work with clay.

This particular collage was made by a student who usually gravitates towards drawing.  She tried something new on this day and it really turned out wonderfully.  I think she really enjoyed the experience. 

Many of the students were already familiar with paper-making, but it was an entirely new experience for me. First you add small pieces of paper to water and you blend it up with a blender.  Kathryn already had two colors of paper pre-blended- green and pink.  You use screens and dip them into the water pulling out the paper and letting the water drip back into the tray.


  You then flip the screen over onto newspaper and dab up the excess water with a sponge.  Once you lift the screen, the paper is left to dry on the newspaper sheet.  After it dries it easily peels off.  In our next class, students will be able to use their homemade paper in a collage making experience.

Wednesday, March 2, 2011

Working with Clay

On February 26th, two students from our Saturday Studio class were finally able to take home their finished clay projects.  They had been working on these pieces for several weeks, allowing time for the clay to completely dry before it was fired in the kiln, then glazed and re-fired. Clay is one of the mediums with which I am least familiar.  So, not only was this a learning experience for our students, but it was also an opportunity for me to learn as well.

The first week, one of the girls decided she wanted to make a clay rattle; the other made a relief-like sculpture of an eye.  Both projects required attaching two or more separate pieces of clay.  I learned that in order to ensure the clay parts stay together, you must score, or scratch, both sides in order to give them texture.  It is very similar to how velcro sticks together.  Then, just before joining the two parts, you must add slip.  Slip is a combination of clay and water and it has the consistency of slippery mud.  It acts as the glue that keeps both sides sticking together.  In this photograph, you can't even tell that the rattle was once made up of two separate sides.  This is because she scored and added slip before smoothing the parts together with her fingers.  Before closing the pieces she added smaller balls of clay wrapped in tissue to create the parts that make the rattle have sound.  After she was finished, she then poked a few small holes in the rattle to allow air in.

Both projects had to dry completely before they were fired.  This can take one to two weeks.  When everything is completely dry Kathryn takes the sculptures home where the kiln is housed.  After firing, the clay changes from grayish-brown to pure white.  Then the pieces are ready to glaze.  The glaze can be painted on with a brush.  It is important to add at least two coats of glaze.  Many times the color that the glaze appears while wet will drastically change after the second firing process.  As you can see in these images, before firing, the glaze appears light green and pink.  After firing, it becomes darker green and blue.  It also changes from a matte to a glossy finish.


Working with clay is a long process often spanning over a period of several weeks, however with a little patience, I believe most will find the final product extremely rewarding.